Amplifier hiss is a term that refers to a specific sound that is created when an audio amplifier cannot produce an output signal with a power level of 0 dB without adding noise to the signal. This sound often appears as a high-frequency buzzing sound or hum that is heard on the recording through speakers or headphones.
If you’re looking to get rid of amplifier hiss sounds while recording a song, there are several ways in which you could go about doing this. The amplification of music makes our shows interesting, and it can be tricky to get them to sound right.
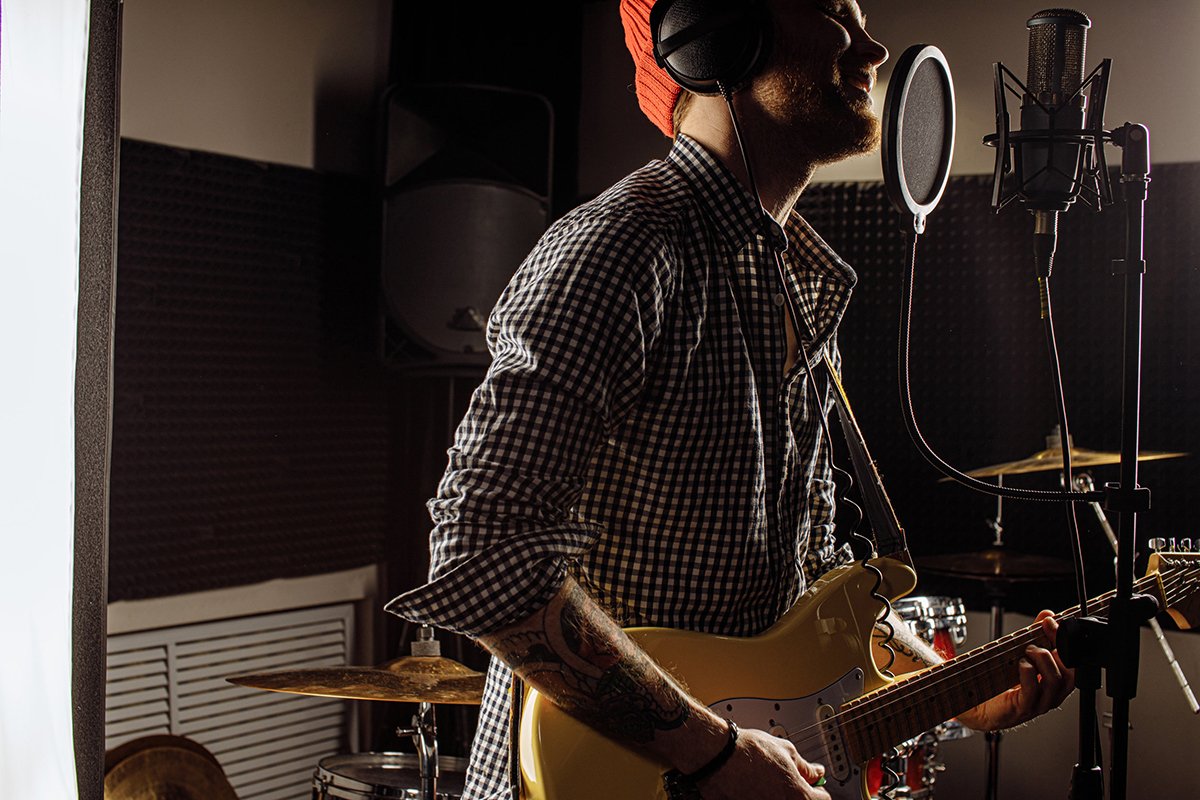
To prevent problems with your live sound system when you are using it, you have to be mindful of the noise levels. This is where people usually have trouble because they don’t know how to get rid of the amplifier hiss while recording.
Page Contents
Get Rid of Amplifier Hiss While Recording
I’ve been asked by several people how to get rid of amplifier hiss while recording. Luckily, it’s very easy to reduce hiss in your recordings. If you don’t know how to do that, then I’ve got your back—tired of hearing those pesky little hisses from your amplifier when you record? Here are some tips on how to get rid of them.
Differences in sound quality often come from the source feed. It’s not as simple as plugging into your computer, although this can work well if you’re careful. If you need quality acoustic guitar recordings, you need something that will eliminate amplifier hiss while also picking up every sound.
While recording, you’re probably at least familiar with the hiss that occurs. You can’t really avoid this, but you can neutralize it with a few tricks. The first is to use a higher-quality recorder. If you haven’t invested in a higher-quality recorder, don’t fret. There are plugins and freeware solutions that will soften the sound and make it much harder to notice the hiss.

Amplifier Hiss – To Get Rid of It, You Need To Understand It
The most common cause of amplifier hiss is poor grounding. It comes from the amplifier valves and is more common in some than others.
Most amplifiers use valves that can’t operate at a point where there’s no gain. A little bit of hiss is normal – especially with inexpensive amplifiers. But if you’ve got a $2,000 amp, it shouldn’t make any noise at all!
When the amplifier is first turned on, it needs time to warm up before it can produce an accurate sound without hissing. With some amplification products, you’ll need to plug in an instrument and turn on the amplifier to let it warm up.
If you hear humming or singing along with the hiss, check for air leaks around your speaker cabinets and then tighten all your cables, so they fit snugly into their jacks.
Once your amp has warmed up, there should be no hiss from either one – but you might still hear a bit of noise from within your speakers. If there is no hiss at any volume level and the amplifier hasn’t been used for more than 48 hours, check to see if any internal caps have been installed. If they have – don’t pop them in; they’ll break something!
Most Common Recording Issues and How to Fix Them
It has become easier than ever before to record music, either in your home studio or at an outside studio. This trend has seen a steady rise in DIY musicians and bands who record themselves. Any musician making their way into a recording booth by themselves should be aware of the common pitfalls that many recording artists make.

Recording issues are, unfortunately, a common occurrence. When the recording fails, it’s a good opportunity to improve your future recordings by learning from your mistakes. By identifying your own pitfalls and knowing how to avoid them, you will help make yourself and your recordings stand out.
Here are five things you can do to save your recording from the scrap heap:
- Clean up any noticeable noise or unwanted frequencies before they even hit the recorder by using a clean preamp.
- When there is some obvious problem with the recording that you can’t avoid, such as bad microphone placement, try to correct it with a software EQ plugin.
- Automate volume levels so that all clips are consistent in their playback level.
- If your clip sounds too bassy or distorted, you can try compressing the file at this stage (or while recording).
- If, however, your clip has an overly trebly sound to it (like many voice recordings), consider adding some gain at around 9 kHz with an equalizer plugin like Fab Filter Pro Q2.
Eliminate Amp Noise From Audio Tracks
Amp noise is an electrical artifact present on all recorded audio tracks. Amp noise is a byproduct of how our brains, ears, and nerves process sound.
There are a number of ways you can do away with the amp noise from your audio tracks:
- Turn off the volume on the sender’s device.
- Mute the tracks in your session.
- Pull up a graphic EQ.
- Use a high-pass filter to cut out everything below 8 Hz.
- Create a sidechain, set the source to your unmuted tracks, set the frequency band to 100 Hz, and type in the decibel value of your threshold (I used -10dB).
- Mix your music back in using the return track of your sidechain compressor.
- Add reverb and delay if you feel that something is still lacking.
This will eliminate amp noise from your audio tracks and make sure that people can hear what you’re trying to say instead of hearing 60Hz.
How To Get Rid of Electric Guitar Amp Hiss
Making simple tweaks can go a long way towards eliminating electric guitar amp hiss so that you can enjoy practicing or playing. Change the speakers, especially if they are old, worn out, or distorted.
You can also put the amp in a location where the unwanted noise won’t bother anyone. Practice and playing softly may prevent the hiss from getting louder. If the hiss is intermittent, check your guitar.
The amp itself may be producing the hiss. Check to see if the ground wire is securely connected to the frame of your guitar and amplifier. Make sure that your speaker cable is secure at both ends. Your amplifier may need to be grounded, or its power cord might not be plugged in properly.
Ensure that there is nothing between you and your amplifier when you are playing. If there are any objects between you and your amplifier, move them away from you and the amp.
You can also replace your pickup selector switch with a push/pull or toggle switch depending on which one you have now, and use a shielded cable when connecting to your amp rather than just using a standard guitar cable.
How To Eliminate Noise in Your Songs
It is always best to perform without any noise. If you use plugins to add effects, be sure you are using good ones. If you can’t avoid using plugin processors, try using them on the instruments themselves.
- Acoustically treat the room where you record or perform as much as possible.
- Try to avoid recording in spaces crowded with unnecessary equipment or furniture.
- Choose a quiet space for mixing your song.
- If possible, use a mixing desk instead of software for mixing your song.
- Make sure to get all the main sounds mixed before adjusting levels, adding more instruments or effects, or bouncing down to stereo or mono tracks.
Noise Reducing Plug-ins
Use a specialized noise reduction plugin while adjusting to individual tracks’ levels. This should be the last step before bouncing down your tracks into stereo or mono tracks, and it’s important not to bounce while it’s running.
When editing tracks, cut as little as possible and use hard fades instead of crossfades whenever possible. Using noise reduction steps in your production process means that there will be less noise in your final songs.
4 Tips for Clear Music Recordings
Since the advent of the internet, virtually everybody can set up a recording studio at home. As such, amateurs often visit forums asking for advice on having clear recordings. Many will even go to school for audio engineering without knowing why they are learning all those things.
Having a clear recording is not as simple as it seems because there’s more than just having the right equipment. The following are some tips for musicians to have clear recordings.
How To Keep Microphones Clear
Good advice for keeping microphones clear and your vocal cords safe!
- Use a pop filter.
- Keep the microphone at least 6 inches (15 cm) from your mouth.
- Move away from the microphone when you are speaking loudly or singing.
- Limit your mic time to 2 minutes at a time.
- Put the mic away after you are done speaking.
- Be aware of your surroundings.
- Avoid eating crunchy snacks while on stage or in front of a camera.
- Adjust your clothing and hair before speaking into the mic.
- Stand up straight while speaking into the mic to avoid popping p’s and b’s.
Guitar, Bass, and Vocal Recording Tips
Before you start, check that your instruments are in tune. Make sure it’s set at the volume you want to record if you’re using an amp.

Also, it would be best if you did the following:
- A record at 24-bit resolution.
- Record dry without any effects.
- Set the input volume on your interface to avoid clipping later on during mixing.
- Use a pop filter if there is any chance of plosives on vocals.
- Be careful with EQing and compression — some amateurs overdo it because they don’t know what they’re doing.
Be careful with reverb if you’re layering multiple tracks of vocals or instruments — otherwise, things will sound muddy and cluttered. You can’t edit mistakes out of audio, so play it right the first time!
Recording with good audio equipment is important, but recording good quality takes practice and patience.
How To Emulate Brian Eno’s Production Techniques
Brian Eno is perhaps the most important pop-music producer of all time. Brian’s production techniques change the way a song sounds. His style of music isn’t for everyone, but a lot of his techniques apply to any genre or style of music. One of my favorite things about his techniques is that they’re easy and inexpensive to do.
Eno doesn’t use fancy equipment or take many complicated steps; he focuses on using unique and simple tools in unconventional ways. One of the major factors in Eno’s work is layering tracks. He prefers to record multiple versions of a song and then layer the best parts on top of one another.
When recording a song’s elements separately, it’s good to be as dynamic as you can be when performing each element. This allows you to make changes later on if you need to without having to redo everything.
The Top Things To Look Out for When Recording Music
- Make sure the room is quiet, and if it isn’t, find ways to reduce sounds that may be interfering with the recording.
- Check out different microphones and voice recording options to see how they impact the recorded sound.
- Understand that you won’t like every take.
- Know your equipment’s limits and how to get the best out of each piece of gear.
- Make sure your levels are set correctly throughout the recording process.
- Listen back after you finish a take to make sure that you’re not clipping too much or distorting.
- Take a break at regular intervals and stretch so that your muscles don’t freeze up while you’re playing.
- Use headphones instead of speakers so that you can better hear what’s going on in a take.
Recording music doesn’t have to be stressful if you follow these simple tips for success.
Takeaways
Music is a form of art. Like any other art, it needs perfection in order to be appreciated. Music depends on vocals and instruments, which produce sound. Sound is a pressure wave that can travel through the air or any material for that matter. The human ear can hear frequencies between 20 Hz and 20,000 Hz.