You just got a subwoofer to help reduce the work your loudspeakers do, improve the overall sound system, and make your home theater experience the best. Or maybe you’re just about to get one, and you’re wondering how to ground one.
Here’s how you can ground your home theater subwoofer in 5 steps:
- Identify the type of subwoofer.
- Get the necessary wiring kit.
- Connect the subwoofer to the receiver or amplifier.
- Position the subwoofer in the right spot.
- Adjust the subwoofer control.
You could also get a technician to do this for you if you don’t have the time to do it yourself. However, having the knowledge on how you can ground a home theater will still come in handy, so let’s dive in!
Page Contents
1. Identify the Type of Subwoofer
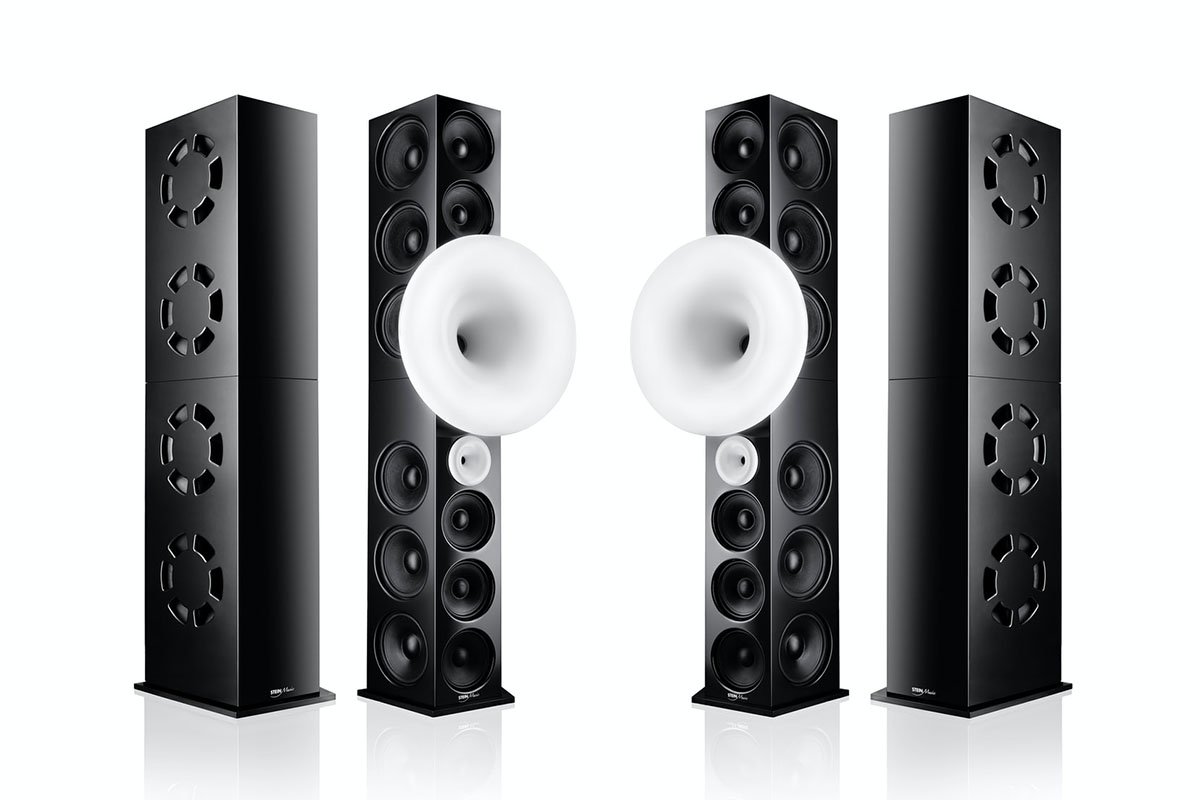
The first and most basic step is to identify the type of subwoofer you got or want to get. Recognizing the variety makes the grounding easier.
It’s also essential to know the configurations a subwoofer comes in. The types of subwoofer include:
- Passive subwoofer. This subwoofer needs to be powered by an external amplifier because it doesn’t come with one. For a passive subwoofer, it’s essential to get an amplifier that has enough power to sustain the speaker.
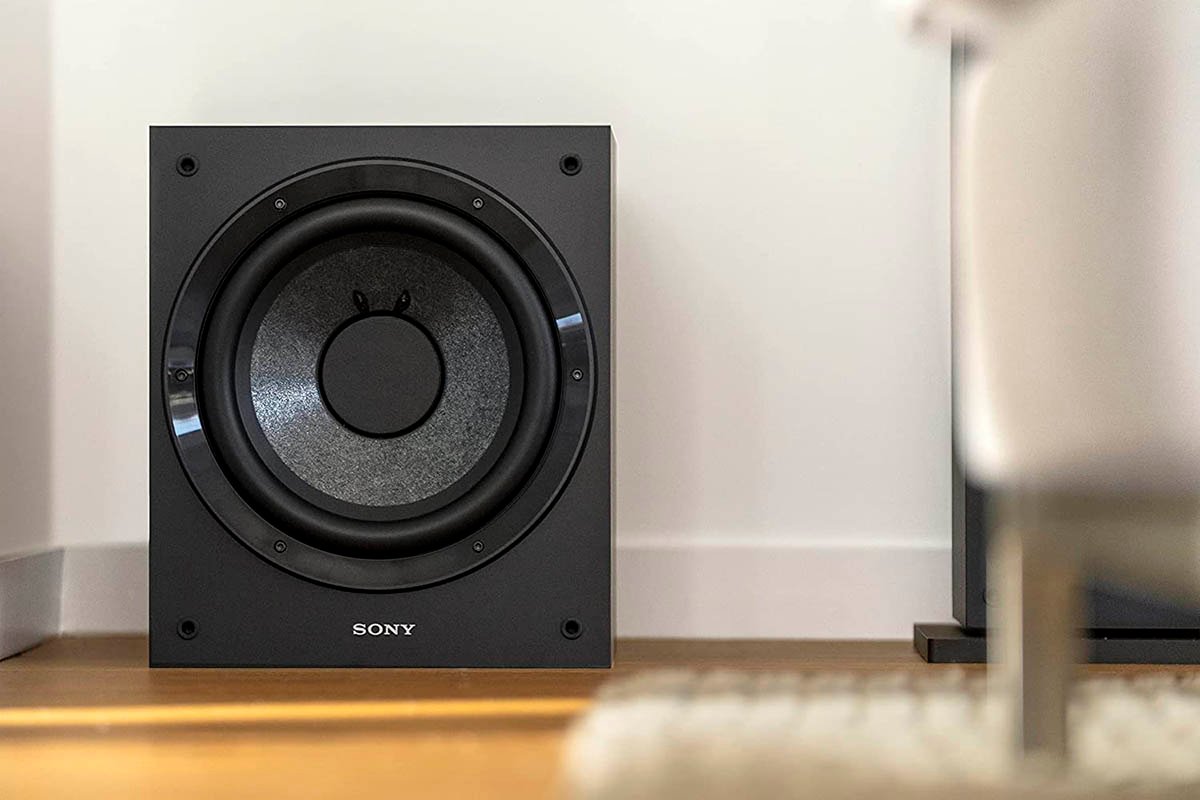
- Active subwoofer. With an active subwoofer, you don’t need to get an external amplifier as the subwoofer has its internal amplifier. The best subwoofer for a home theater should have its amplifier enclosed together.
- Front or down firing subwoofer. A front-firing subwoofer is one where the sound dispels from the front or side like regular loudspeakers. However, a down-firing subwoofer is the complete opposite. It has its speaker pointing downwards.
- Ported subwoofer. A ported subwoofer has an extra hole or port, which enables air to escape from the box. The sound from this type of subwoofer is more prominent, so you have a better experience.
- Sealed subwoofer. Unlike the ported subwoofer, the sealed subwoofer is without an extra port or hole, so the sound only has one route to pass through.
- Bandpass subwoofer. Unlike other types of subwoofers, the bandpass subwoofer has a complex design. With this kind of subwoofer, you can tailor the level of bass that comes out to your desire. Bandpass subwoofers also have two separate chambers that allow for clean natural bass output.
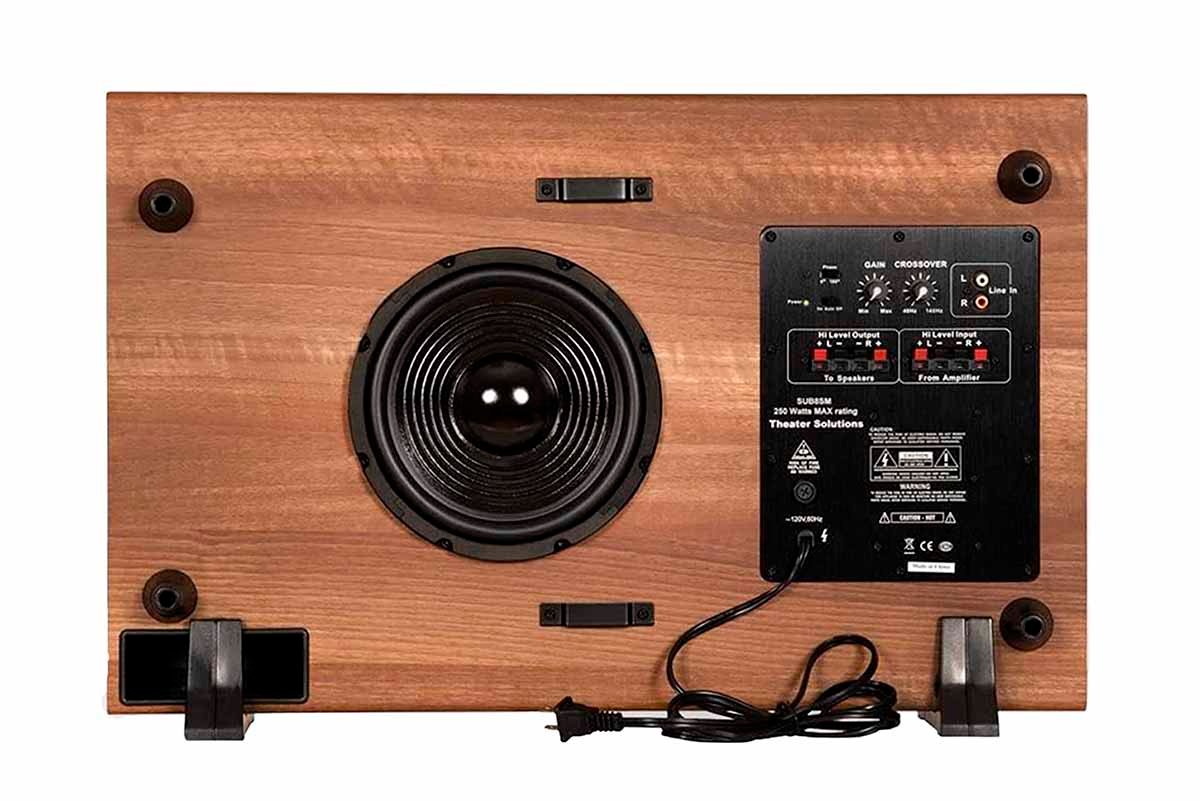
2. Get the Necessary Wiring Kit

Subwoofers don’t come with wiring kits, so you’ll have to get the necessary one. However, this is only applicable if your subwoofer isn’t wireless. A wireless subwoofer doesn’t require a wiring kit.
A subwoofer for your vehicle would require more wiring kit, but since the focus of this article is a subwoofer for home theater, the wiring kit needed is a subwoofer cable and a nearby power outlet.
Also, if your subwoofer doesn’t have an inbuilt amplifier, you might need to get one with the subwoofer cable.
For instance, an amplifier is necessary to power a passive subwoofer because subwoofers take a lot of power, so there’s a probability it might be more powerful than the sound system’s receiver.
3. Connect the Subwoofer to a Receiver or Amplifier

Even if your subwoofer has its inbuilt amplifier, you’ll still need to connect it to a receiver or speaker. To connect your subwoofer to the speaker, you need to join the speaker cable from its main outputs to the subwoofer’s input terminals.
To connect a subwoofer to an amplifier, check if the subwoofer’s LINE IN and its output on the amplifier use RCA cables.
If both the subwoofer and amplifier do, connect them using an RCA cable, or you can get an extra set of speaker cables.
4. Position the Subwoofer in the Right Place
The purpose of adding a subwoofer to your home stereo is apparent: to improve the overall quality of sound and get a more profound bass output.
However, failing to place the subwoofer in the right place can defeat the purpose of having one in the first place.
You might be tempted to put your subwoofer anywhere, especially if it’s a wireless one, but you don’t want to do this, or you might not get that desired sound quality.
Also, it might be better not to place your subwoofer against the wall because you might not get the best sound you want. However, if your speakers are more prominent than smaller ones, placing the subwoofer against the wall might not be a bad idea.
The best way to determine where to place your subwoofer is to use a technique known as crawl. It lets you figure out the best listening location in the room.
If you care more about appearance than sound, this might not be an option for you since you’ll put the subwoofer wherever it looks good in your home.
To do the crawl technique, place the subwoofer close to your favorite spot in the room, and play a song with a bass line. Then, crawl around the room with your head on your knee to find where the bass is more prominent and place your subwoofer.
A considerable disadvantage of this approach is that you might have to always stay in that position where your subwoofer sounds best to enjoy the sound you desire.
Having just a single spot where the sound is best is okay if, for instance, you’re the only one concerned about enjoying those action scenes in the movies.
If you want other people to enjoy the sound with you, you should do the crawl more to check other spots and place the subwoofer where you think it’s best, not only for you.
In case the crawl technique doesn’t work, or you can’t imagine yourself doing it, you can try these few options.
Place the Subwoofer in a Corner
You can try a corner placement for your subwoofer. Who knows, you might be lucky and get an optimal bass sound. Naturally, there’s a tendency for subwoofers to have a more amplified sound when placed in corners.
Try Front Placement
Front placement for subwoofers happens to be the most common. You have to place it in front of the room with the other speakers.
A front station shouldn’t let you know the sound is coming from the front. If the front station is proper, you shouldn’t see the direction of the sound.
Get a Dual Subwoofer
If you’ve tried the options above and you still don’t have the result you want, a single subwoofer might not just be enough for your living room. So it’s better to get a second one, or if you have a large living room, go for a dual subwoofer.
Sadly, if you don’t have a lot of space in your living room, you might be limited to one spot for your subwoofer, which might prevent you from getting the desired sound quality.
5. Adjust the Subwoofer Controls
Getting the proper placement for the subwoofer isn’t the only necessary thing. Adjusting the controls and tweaking them is also essential. You can check your receiver’s menu to find the speaker’s setup.
The first thing to do is to set the crossover, the frequency at which your subwoofer plays bass. It shouldn’t be set too high or too low, or the characters in the movie you’re watching will start sounding unusual.
You should set the frequency of the subwoofer controls to the highest if the subwoofer is connected with a home theater receiver.
Your subwoofer and speakers aren’t supposed to play the same notes, so you should turn up your subwoofer sound slowly until it encompasses the sound of your speakers.
Next, adjust the gain or volume. This part is the easiest, but you can also do it incorrectly. A home theater receiver has a built-in test tone that can help set the subwoofer’s level.
Most subwoofers have just two buttons: the crossover and gain or volume buttons, but most times, they’re inexpensive. So, if your subwoofer comes with a phase switch or control, you can use it to adjust the sound coming out of your subwoofer.
A phase switch or button helps you adjust the bass’s timing to make your subwoofer sync with the speakers.
Conclusion
Grounding your next subwoofer in your home theater shouldn’t be a problem or an arduous task, and you don’t necessarily need to get a technician to do that for you if you follow the steps covered in this article.